A balloon arch adds instant colour, height, and visual impact to birthdays, weddings, baby showers, and other celebrations. Using a balloon decorating strip makes the arrangement easier to assemble by holding the tied ends of the balloons together while allowing the display to bend into the desired shape. Also called balloon tape, balloon arch strip, or balloon garland strip, this flexible plastic strip can be paired with latex balloons in different colours and sizes to create a fuller, more balanced design. Follow the steps below to make a balloon arch with strip using balloon tape, from inserting and arranging the balloons to shaping, securing, and finishing the display with supplies from the balloon garlands and stands collection.
What Is Balloon Tape for a Balloon Arch?
Balloon tape is a flexible plastic decorating strip with evenly spaced holes that hold tied balloons together. Despite the name, it is not usually adhesive. The balloon knot is pushed through the wider opening and slid into the narrower section, allowing the strip to secure the balloons while remaining flexible enough to form an arch or garland.

It may also be called a balloon arch strip, balloon garland strip, or balloon decorating strip. The strip forms the main structure of the display, while balloon glue dots are used later to attach smaller balloons and fill visible gaps.
What You Need to Make a Balloon Arch With a Strip
Before starting, gather all the supplies needed to assemble, shape, and secure the balloon arch. Using balloons in two or three sizes will help create a fuller arrangement, while a balloon pump makes it easier to prepare a large number of balloons without inflating each one by hand.
You will need:
- Balloon decorating strip
- Latex balloons in different colours and sizes
- Electric balloon pump
- Balloon tying tool
- Balloon glue dots
- Clear fishing line, ribbon, or removable hooks
- Scissors and measuring tape
- A balloon arch stand for a freestanding display
For a more convenient option, a balloon arch kit can provide the decorating strip, tying tool, glue dots, and ribbon in one set.
How to Make a Balloon Arch With Strip Using Balloon Tape
Once the supplies are ready, plan the size, shape, and placement of the balloon arch before inflating the balloons. This will help determine how much decorating strip, how many balloons, and how many support points the setup will need.

Step 1: Choose the Size and Shape of the Balloon Arch
Measure the display area, then decide whether you want a full arch, half arch, asymmetrical arrangement, or garland-style design. Full arches work well for entrances and photo areas, while asymmetrical designs are ideal for backdrops and dessert tables. Cut the balloon strip slightly longer than the measured space to leave enough material for shaping and securing, since the finished garland will become shorter once it is curved.

Step 2: Select the Balloon Colors and Sizes
Choose two to four coordinated colours that match the event theme, then combine standard balloons with smaller filler balloons and a few larger pieces for added depth. Avoid using only one size, as varied balloon dimensions help the arch look fuller and make it easier to cover visible sections of the strip. Plan the approximate colour distribution before inflation so the finished arrangement feels balanced rather than forming accidental blocks of the same shade.

Step 3: Inflate and Tie the Balloons
Inflate the balloons to slightly different sizes to create a more natural, layered look, but avoid overfilling them because this can make the arch harder to shape and increase the chance of popping. Tie each balloon securely and leave enough of the neck exposed so the knot can be inserted into the decorating strip. Prepare all the balloons before assembly, grouping them by colour and size to make the next steps faster and more organised.

Step 4: Cut and Position the Balloon Decorating Strip
Unroll the balloon decorating strip on a clean, flat surface and cut it slightly longer than the planned arch to leave room for shaping and attachment. Keep some empty strip at both ends for tying or hanging, then look closely at the pre-cut holes so you can identify the wider opening and the narrow slot that will secure each balloon knot.

Step 5: Insert the Balloons Into the Arch Strip
Push the tied end of each balloon through the wider part of a hole, then slide the knot into the narrower section to lock it in place. Continue adding balloons along the strip, skipping holes when the arrangement begins to feel crowded, and gently tug each balloon after inserting it to make sure it is secure. This is the basic technique for how to use a balloon arch strip, balloon arch tape, or balloon garland strip correctly.

Step 6: Alternate Balloon Colors and Sizes
Arrange the balloons in a mixed pattern by alternating colours and placing different sizes beside one another rather than creating rigid rows. Turn some balloons in slightly different directions and check the garland from the front and sides as it grows, making small adjustments to prevent one colour or size from becoming concentrated in a single area.

Step 7: Fill the Strip While Keeping It Flexible
Continue adding balloons until the strip looks full, but avoid using every hole because an overcrowded strip can twist and become difficult to curve. Leave enough space between some balloons so the garland remains flexible, then rotate individual balloons to cover visible gaps before deciding whether additional filler balloons are needed.

Step 8: Shape the Balloon Garland Into an Arch
Carefully lift the completed strip and bend it gradually into the desired arch, half-arch, or asymmetrical shape without pulling on individual balloons. Adjust the direction of the balloons, redistribute any crowded sections, and test the arrangement against the wall, backdrop, or frame before securing it so the final curve fits the available space.
How to Hang and Secure a Balloon Arch Made With a Strip
Once the balloon strip has been shaped into the desired curve, secure it at several points to keep the weight balanced and prevent the arrangement from sagging or shifting. The best installation method will depend on whether the finished arch is being attached to a wall, arranged around a backdrop, or mounted on a freestanding frame.
-
Attaching the arch to a wall or backdrop: Secure both ends with removable hooks, clear fishing line, or ribbon, then add support points through the middle to prevent sagging. Attach each support to an empty section of the strip rather than directly to a balloon knot, then adjust the balloons to hide the hooks, ribbon, and visible tape.
-
Attaching the strip to a balloon arch stand: Position the completed garland along a backdrop stand, then secure it at several points using ribbon, clear ties, or fishing line. Start at the top or centre and work outward, keeping the weight evenly distributed before rotating the balloons to conceal the ties and exposed frame.
-
Creating an asymmetrical balloon arch: Arrange the strip around one side and across part of the top of the backdrop, allowing one end to extend farther than the other. Add support points wherever the direction changes, especially near the upper corner, so the garland follows the intended curve without pulling away from the frame.
Complete the Balloon Arch With Coordinated Decorations
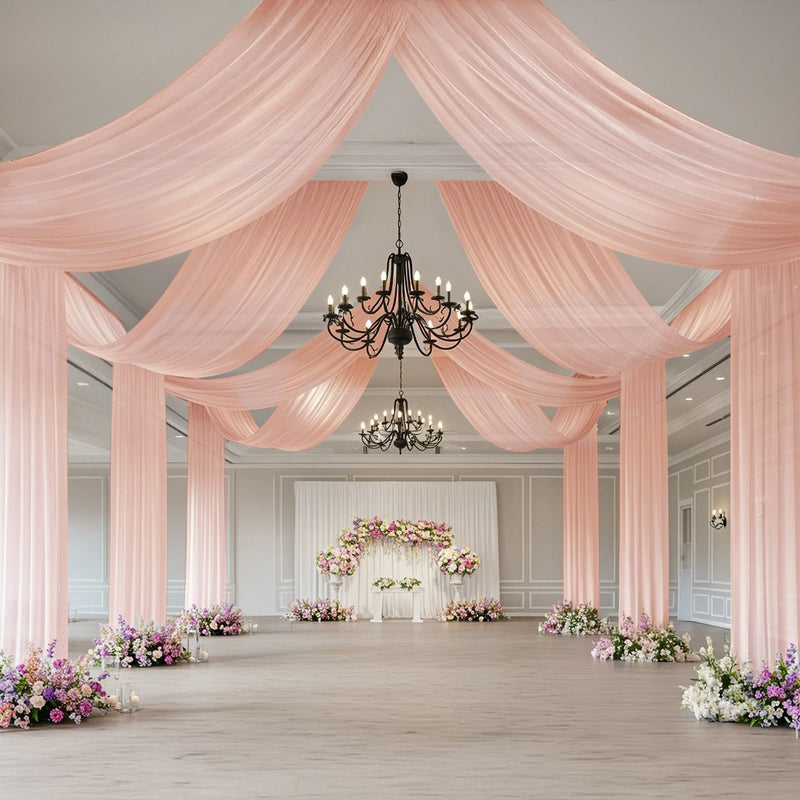
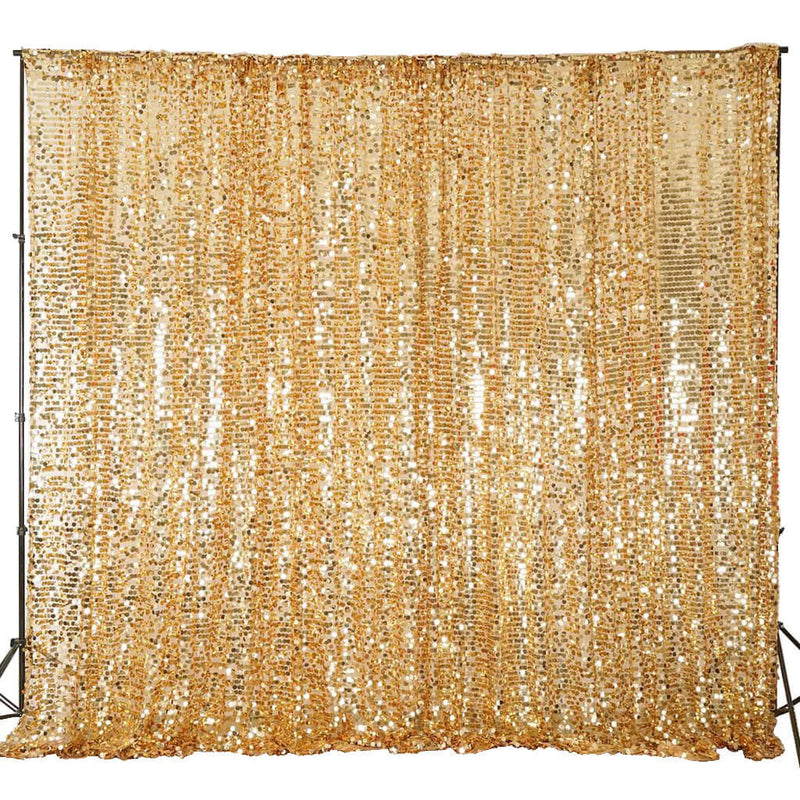
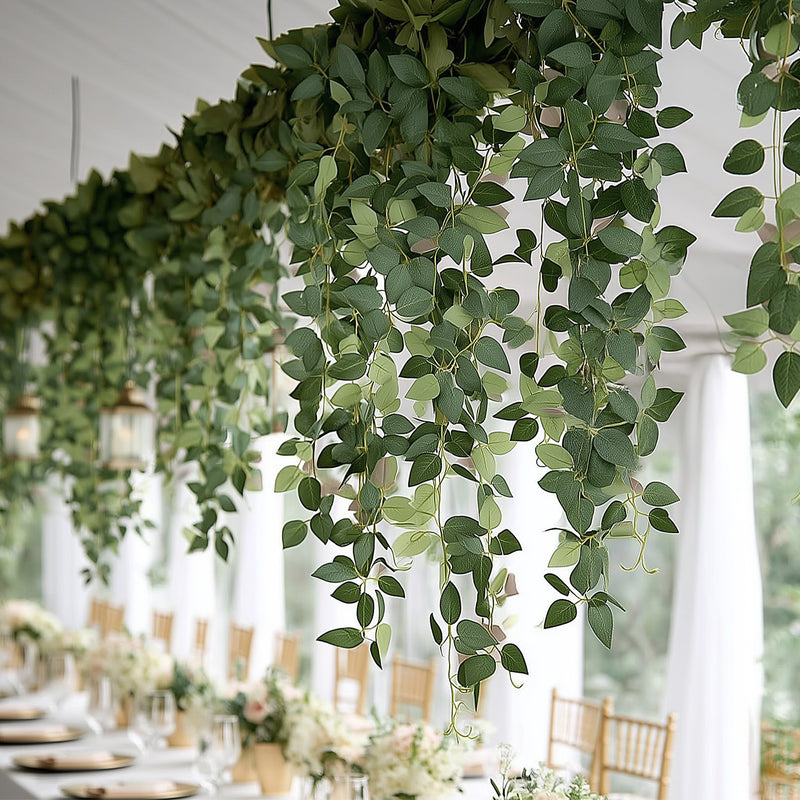
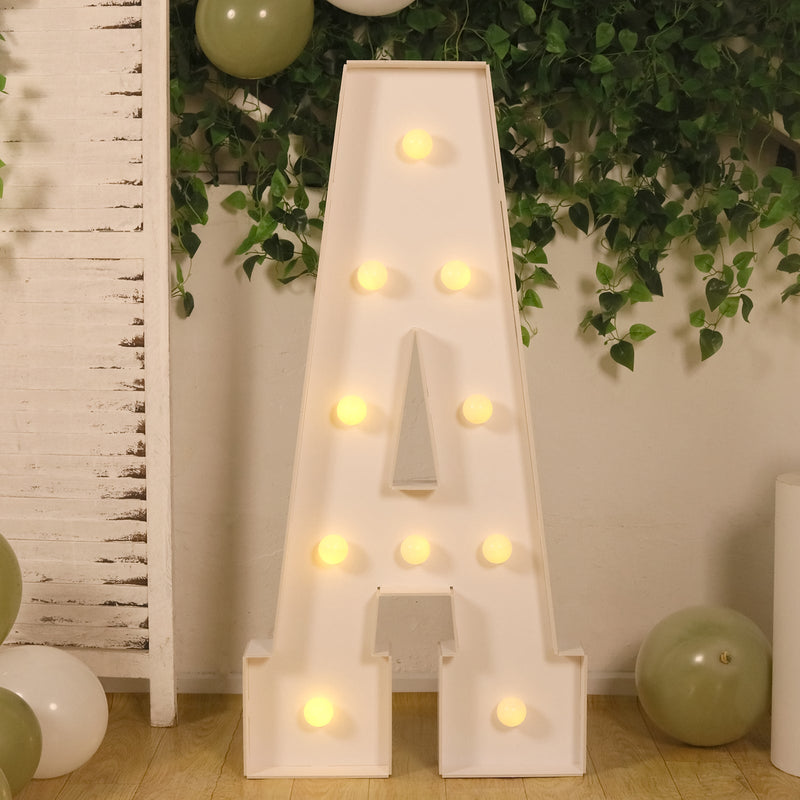
Once the balloon arch is installed, add a few coordinated decorations to make the setup feel more complete. Position the arch around a backdrop curtain, dessert table, welcome sign, or photo area, then add artificial flowers, greenery, sequin panels, or LED signage that matches the event theme.
Keep the surrounding décor balanced so the balloon arch remains the main feature. Use only a few complementary elements and repeat the same colours across the backdrop, table linens, and smaller decorations to create a more polished setup.
Build a Fuller Balloon Arch With the Right Supplies
Making a balloon arch with a strip is much easier once the decorating tape, balloon sizes, and support points are planned properly. The strip creates the main structure, while varied balloon sizes, balanced colour placement, secure installation, and smaller filler balloons help give the finished arch a fuller and more polished look. Complete the setup with coordinating backdrops, flowers and greenery, or lighting to turn the balloon arch into a strong focal point for the event.